Microsoft Dynamics 365 Business Central Cash Management - Receivables and Payables
How to Manage Cash Receivables and Payables in Business Central
To manage cash, receivables and payables in Business Central, you can use the Cash Receipt Journal and the Payment Journal. These journals allow you to record and process cash receipts and payments, respectively.
Managing Receivables
When you receive a cash receipt from a customer, or you make a cash refund, you must decide whether to apply the payment or refund to close one or more open debit or credit entries. You can specify the amount you want to apply. We can use Cash Receipt Journal to manage this transaction.
To Fill and Post a Cash Receipt Journal
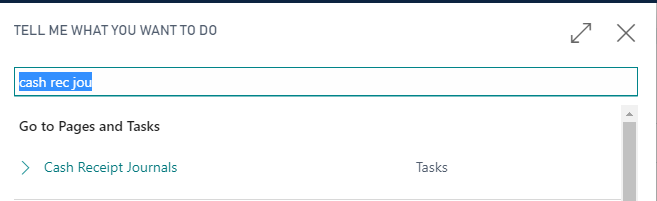
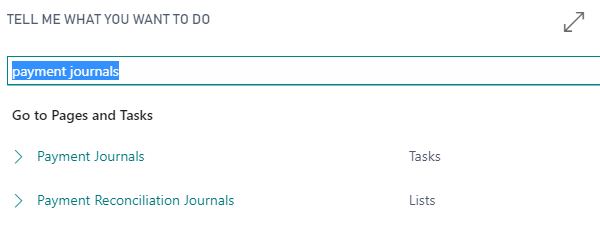
- Choose the “search glass” icon, enter Cash Receipt Journal and choose the related link.
- Choose the Edit Journal action.
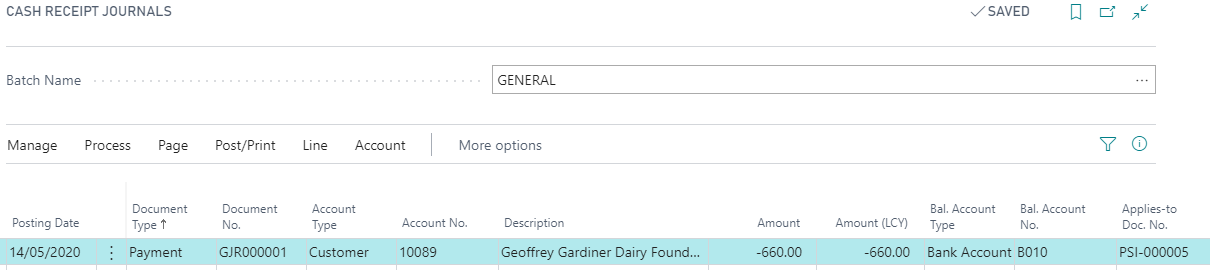
- On the first journal line, enter the relevant information about the entry to be applied.
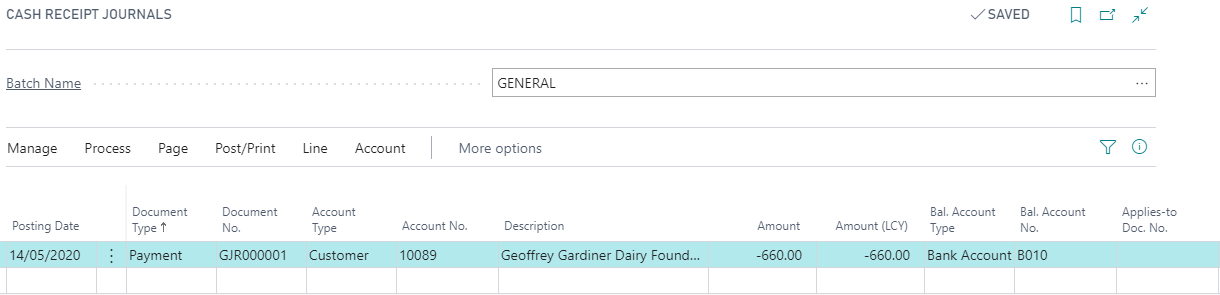
- In the Document Type field, enter Payment.
- In the Account Type field, enter Customer.
- In the Bal. Account Type field, enter Bank Account.
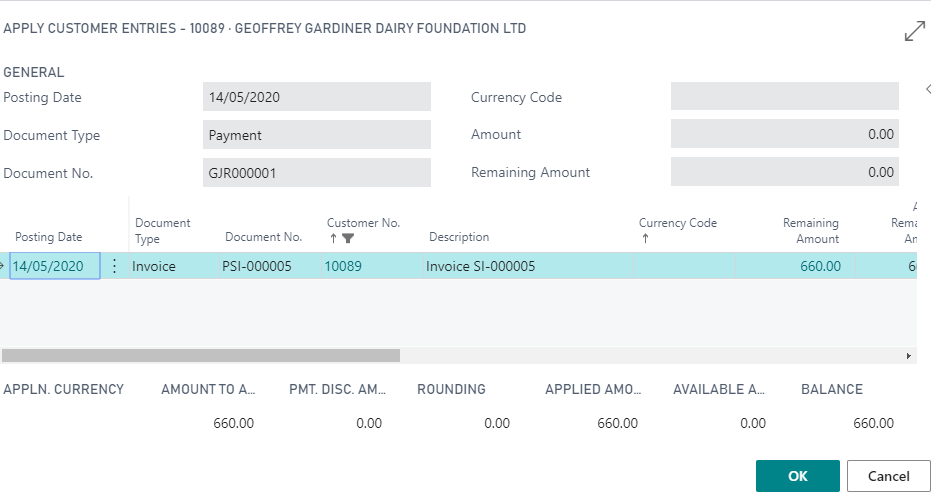
- In the Applies-to Doc. No. field, choose the field to open the Apply Customer Entries page.
- On the Apply Customer Entries page, select the entry to apply the payment to.
- In the Amount to Apply field, enter the amount you want to apply to the entry. If you do not enter an amount, the maximum amount is applied.At the bottom of the Apply Customer Entries page, you can see the specific amount in the Applied Amount field and also whether the application balances.
- Choose the OK button. The Cash Receipt Journal page now shows the entry you have selected entered in the Applies-to Doc. Type and Applies-to Doc. No. fields.
- Post the cash receipt journal.
Managing Payables
The payment journal is a general journal that is optimised for making payments. You can quickly add lines manually, you can let Business Central suggest vendor payments, and you can apply the payment to posted documents.
To Fill and Post a Payment Jounal
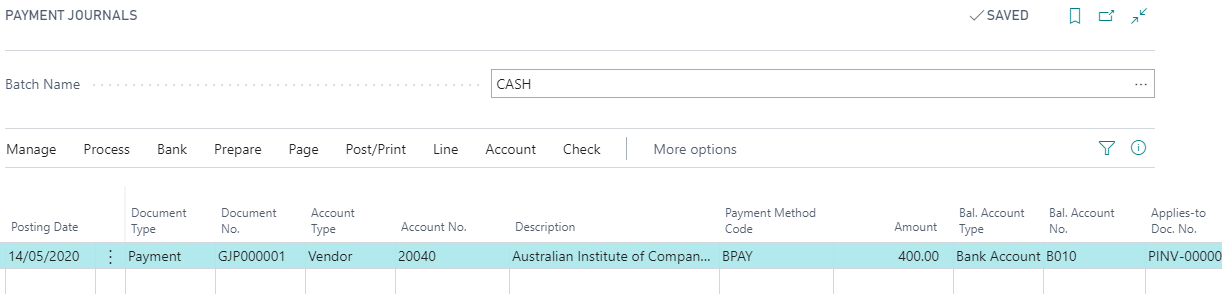
- Choose the “search glass” icon, enter Payment Journals, and then choose the related link.
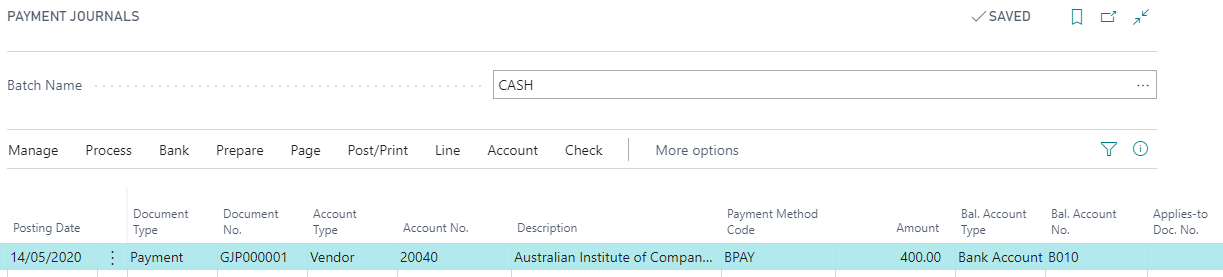
- In the Account Type field, enter Vendor and fill vendor Account No field.
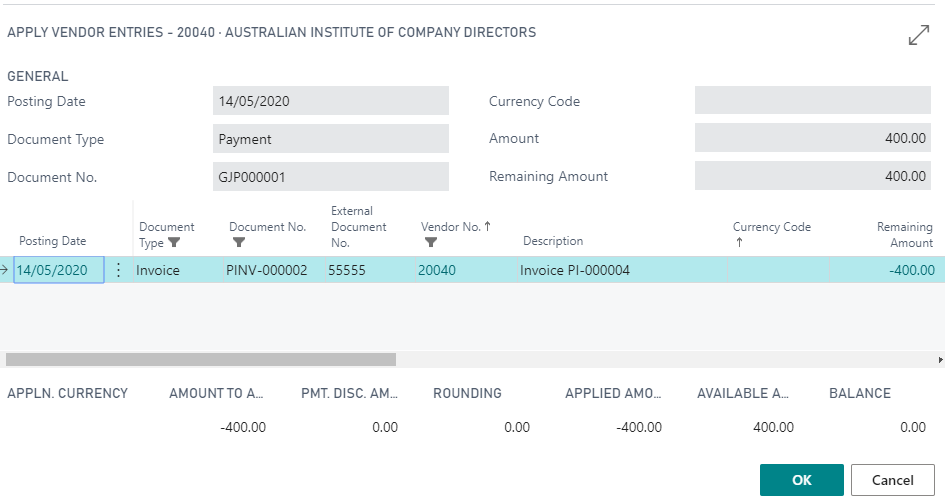
- To also apply the payment to the related invoice or CR/Adj note, choose the Applies-to Doc No. field, on the Apply Vendor Entries page, select the relevant invoice or CR/Adj Note, and then choose the OK button.
- Many fields, such as the Document Amount and Due Date fields, are now filled in with information from the selected document.
- When all payment journal lines are completed, choose the Post action.
- On the Apply Vendor Entries page, select the entry to apply the payment to.
- In the Amount to Apply field, enter the amount you want to apply to the entry. If you do not enter an amount, the maximum amount is applied.
At the bottom of the Apply Vendor Entries page, you can see the specific amount in the Applied Amount field and also whether the application balances.
- Choose the OK button. The Payment Journal page now shows the entry you have selected entered in the Applies-to Doc. Type and Applies-to Doc. No. fields.
- Post the journal.