How To Add Events in Dynamics 365
Introduction
This guide will walk you through the process of creating new events and deactivating old ones within the system. In the context of marketing and sales, “Events” refer to a dedicated module, typically part of Dynamics 365 Customer Insights - Journeys (formerly Dynamics 365 Marketing). This functionality is a full-scale tool for planning, executing, and tracking live or digital events.
How It Is Used
The following lists the uses for events:
-
Planning & Setup: Users can define all aspects of an event, including the venue, capacity, agenda (sessions and speakers), and registration fees.
-
Registration Management: It provides an integrated event website/portal where attendees can register online. It captures all registrant data directly into Dynamics 365 as Leads or Contacts.
-
Marketing Automation: The module integrates seamlessly with Customer Journeys, allowing for automated email confirmations, reminders, follow-up emails, and satisfaction surveys.
-
Lead Generation & Tracking: It serves as a major source of leads. Sales and marketing teams can track who attended the event, their session history, and their engagement for subsequent nurturing and sales qualification.
-
Check-in & Logistics: It can facilitate on-site activities like using QR codes for attendee check-in and managing room and resource allocation.
Steps to Create an Event
The following steps will guide you through creating a new event.
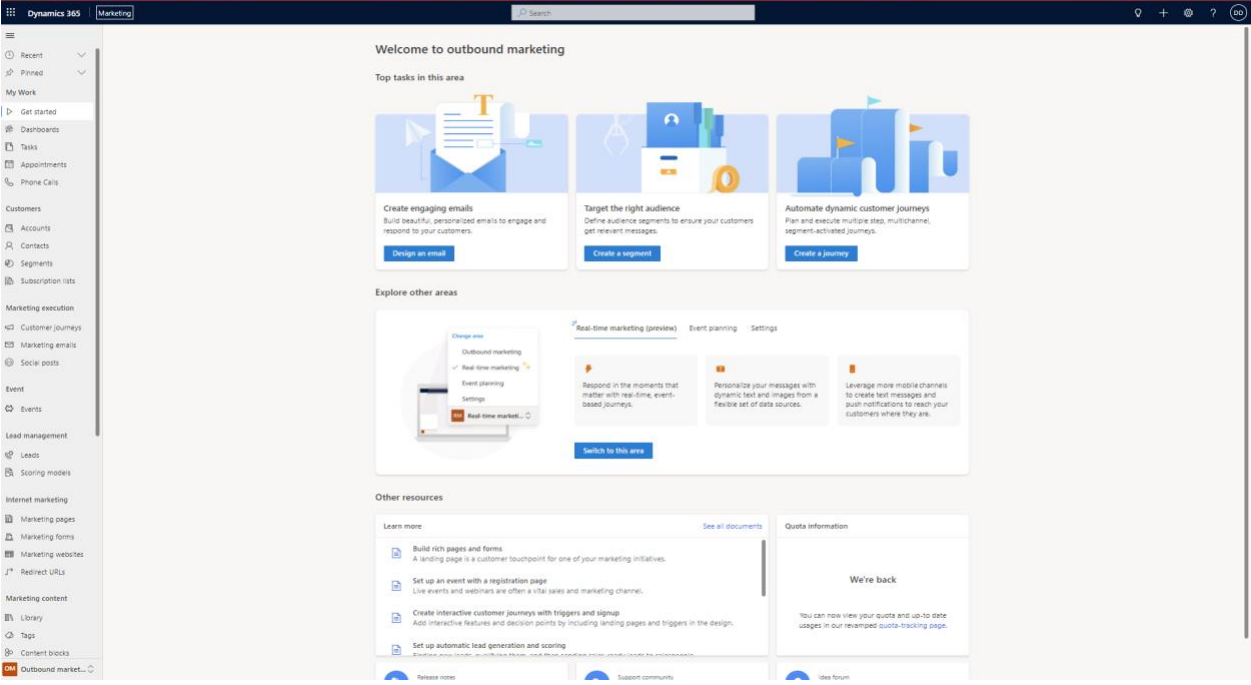
Access or open your App (e.g. Marketing App).
- Navigate to the App.
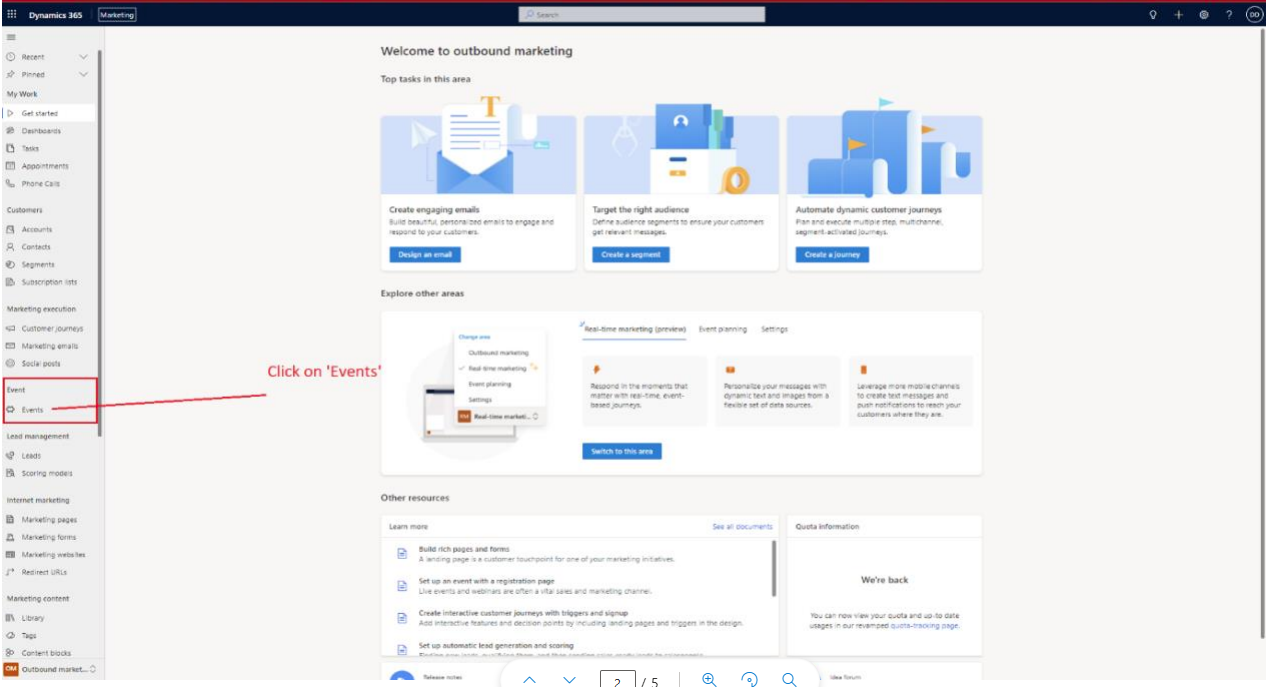
- On the left-hand side panel, locate and find the group labeled Event.
Create a New Event
- Click on Events within the Event group.
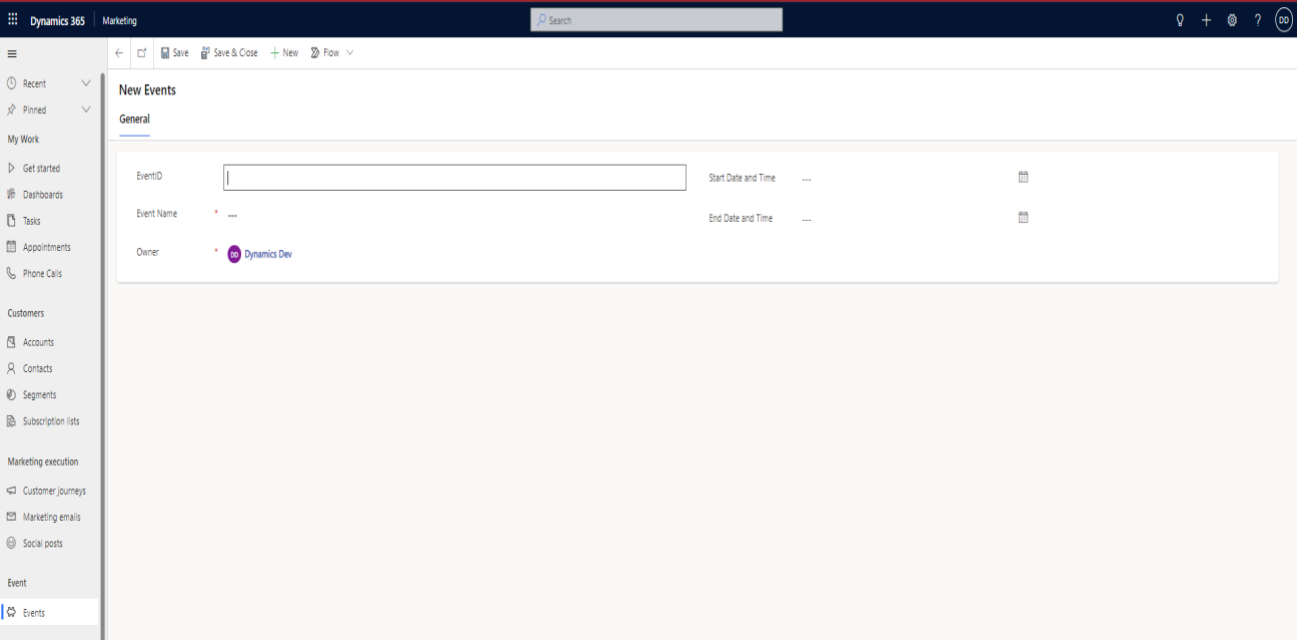
- From the top menu, click the +New button.
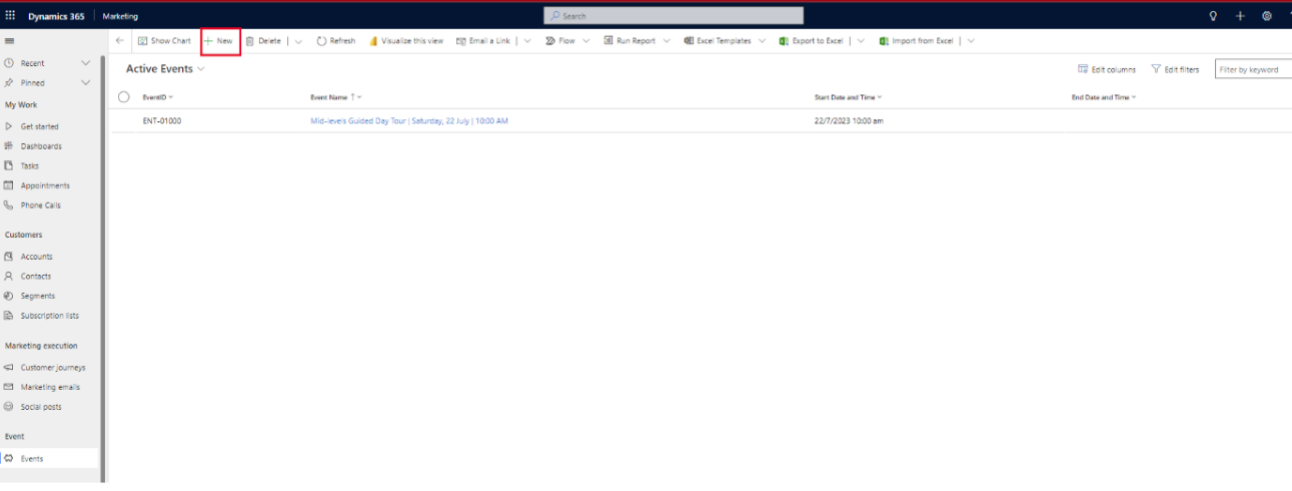
- A new form will appear. Enter all the required details for your event.
- Click Save.
Important: Once you save the record, the system will automatically populate and display it on the public web form.
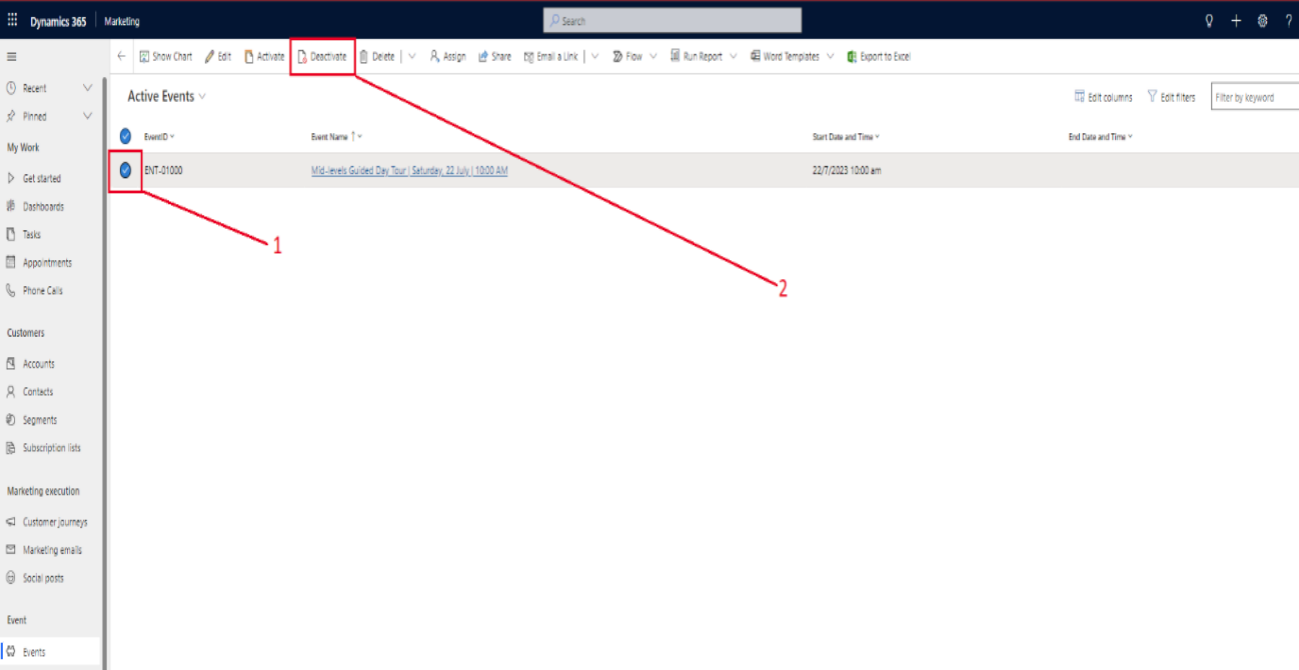
Steps to Deactivate an Event
When an event has finished or is no longer needed, it is best practice to deactivate it to prevent further registrations or to prevent any confusion.
Deactivate an Event
To remove an event that has finished from the public view:
- Go to the Events list.
- Find and click on the specific event record you wish to remove.
- Press the Deactivate button. This will hide the event instead of deleting it permanently so you can keep it as a record.