Admin For Dynamics 365 Education Admin Center
The Admin Center
This section is about the Admin Center.
Opening the Admin Center
From Microsoft 365 following these steps:
-
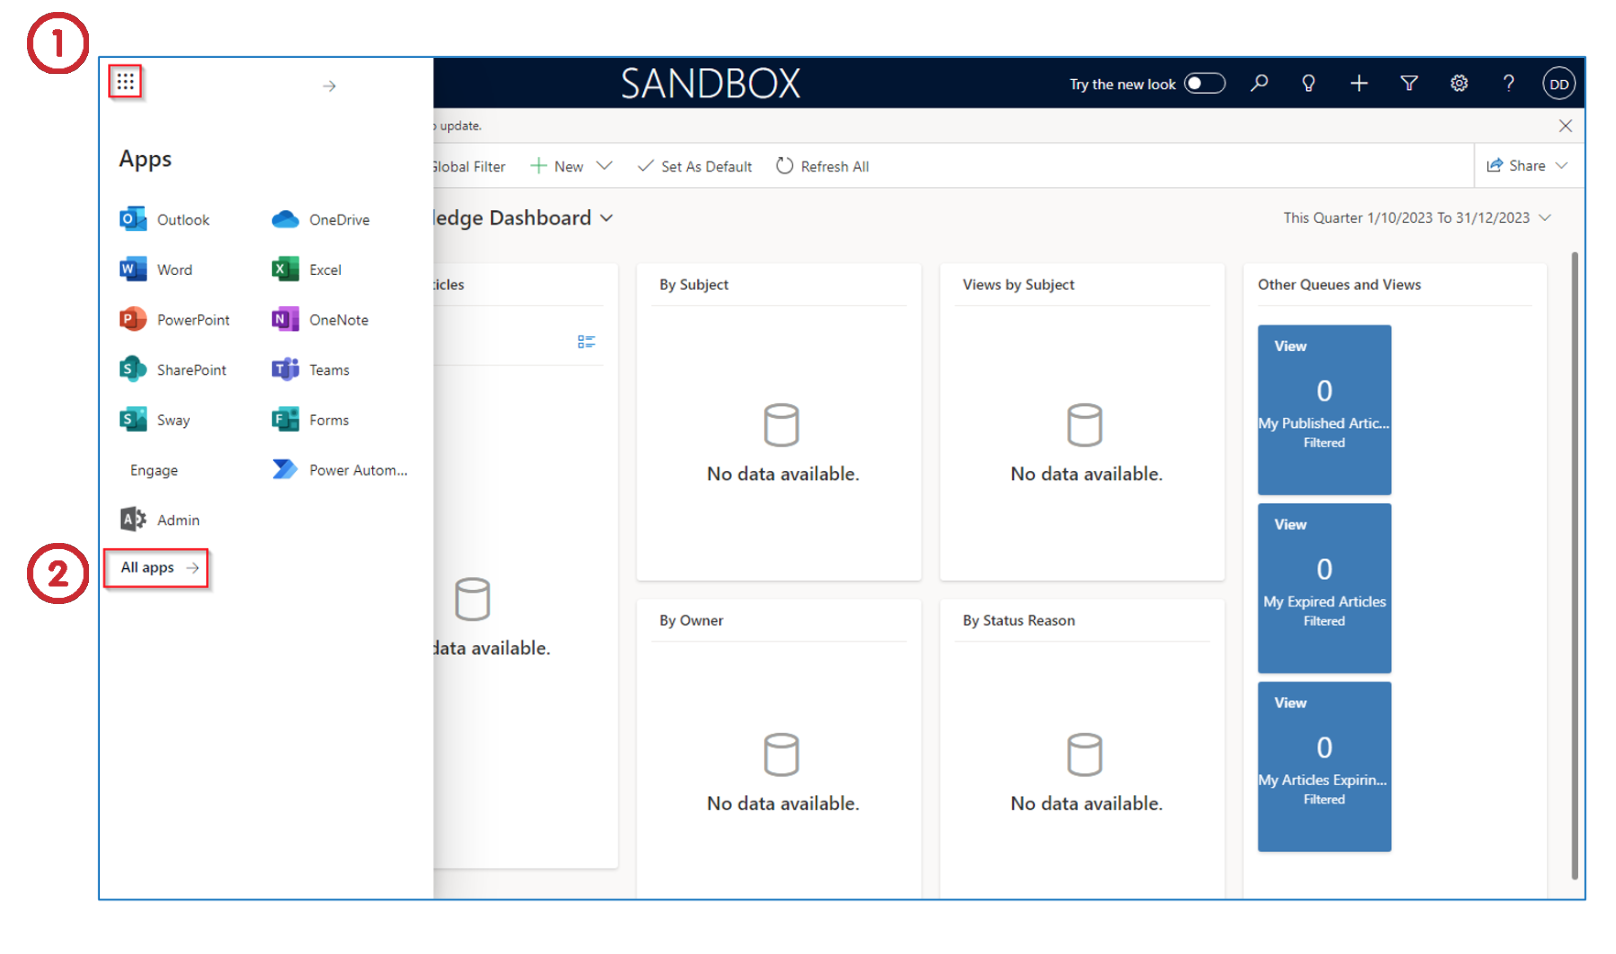
Once you have signed in to office.com, click on the “9 dots”.
-
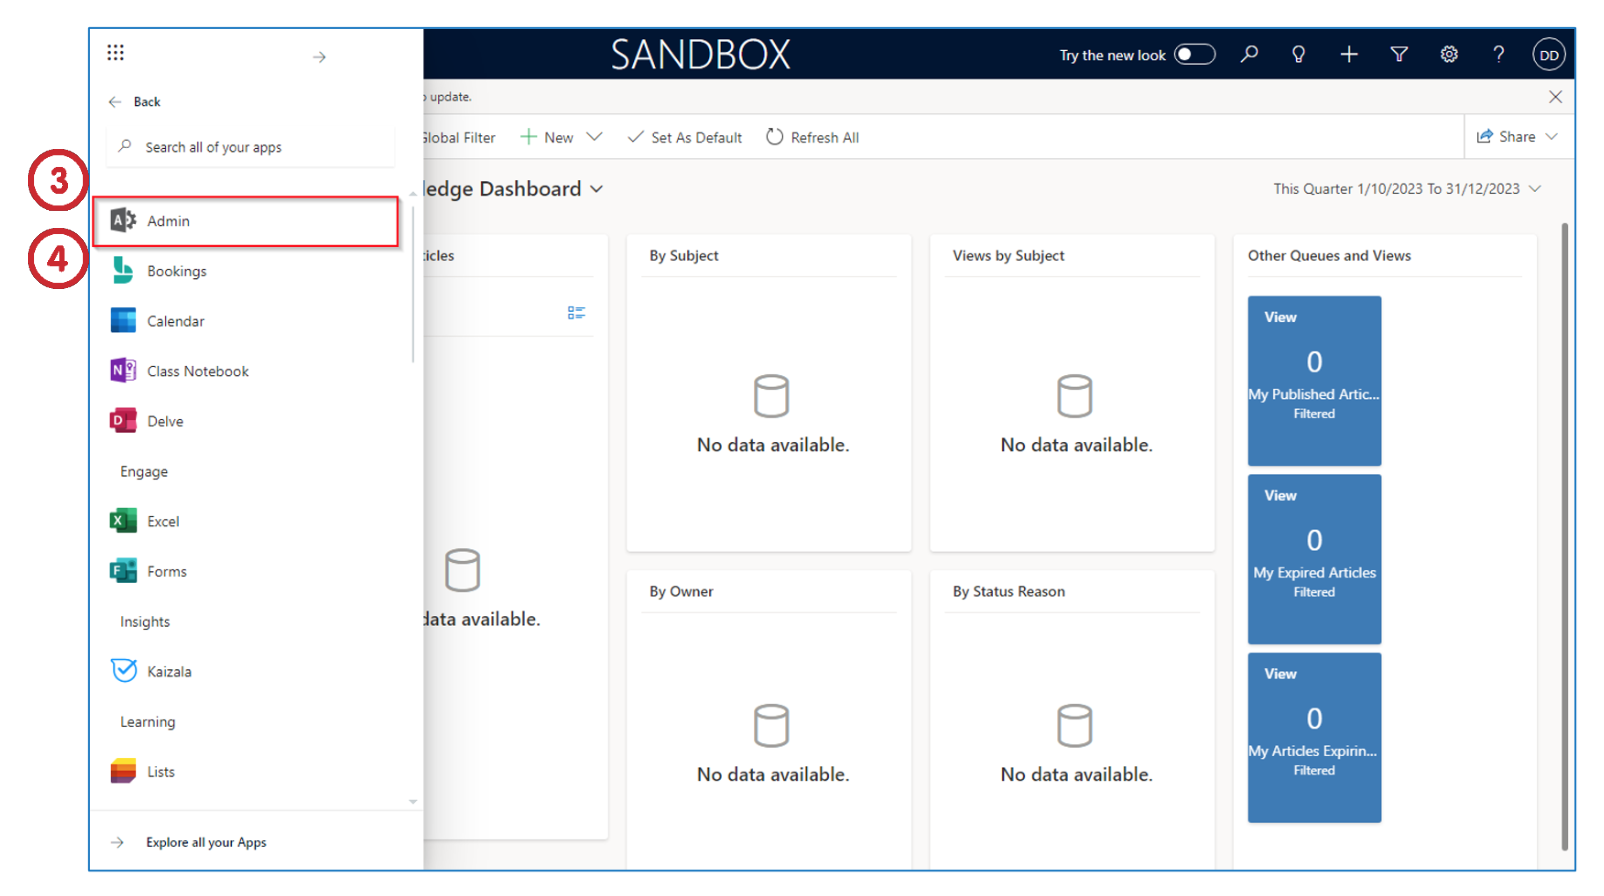
Select All apps.
-
Under the Office apps, find Admin.
-
Click on the Admin app to launch the Admin Center.
Create A New User and Assign A License
We will now create a new user and assign a license to the user.
Create A New User
To create a new User from the Microsoft 365 Admin Center:
- Click on Show all to view more options
An Office 365 or Dynamics license is required before a new user can be created. You can move a license from an inactive user or request a license to be purchased.
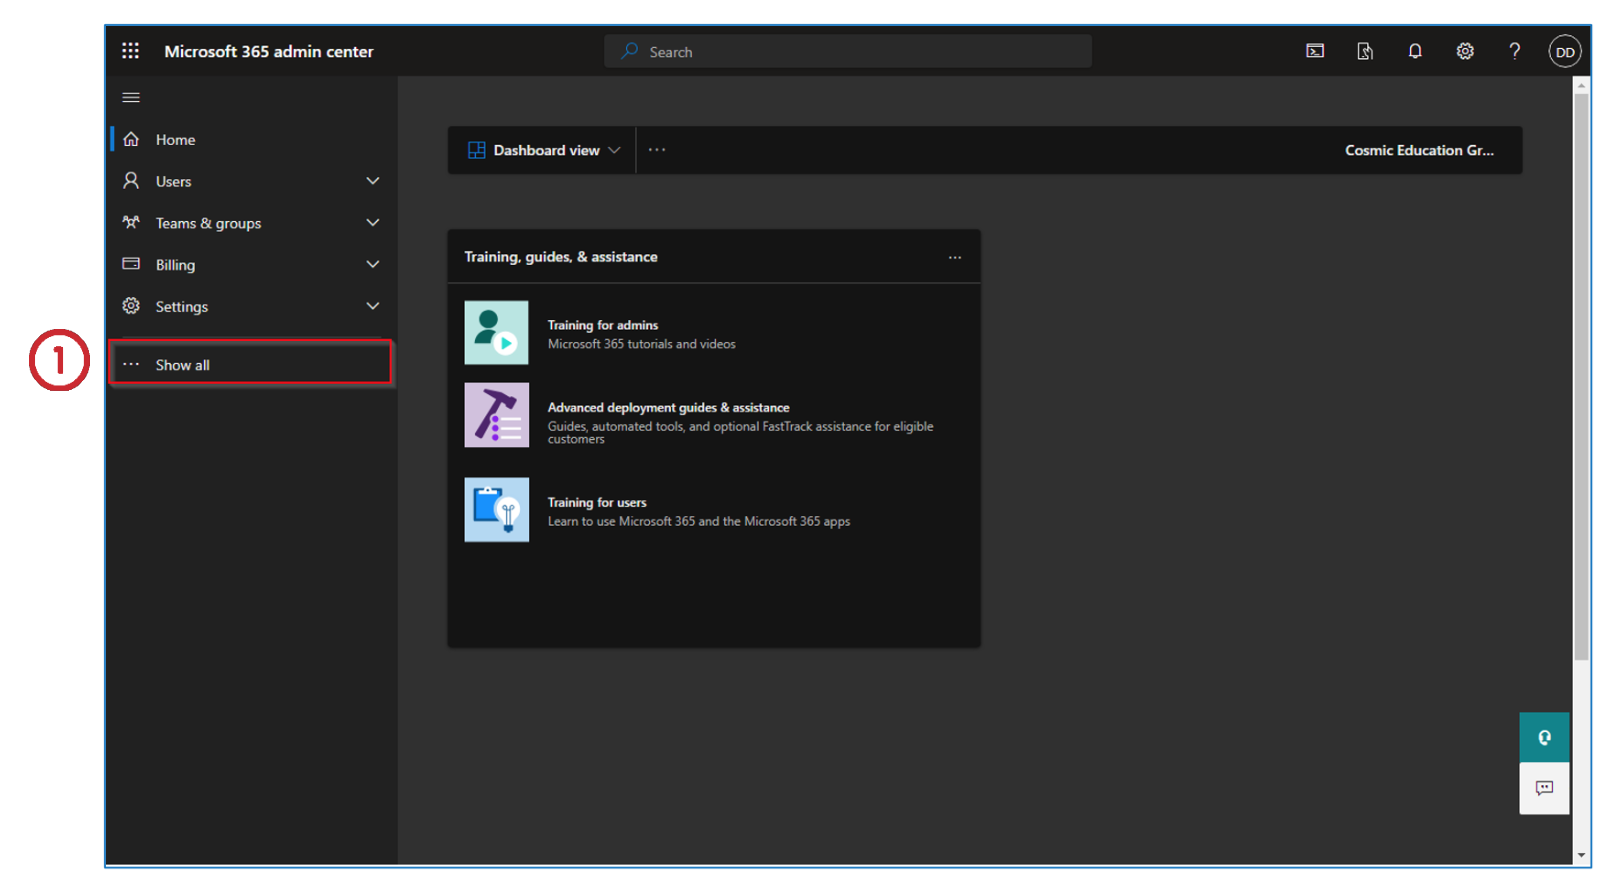
- Under Users, click the arrow to expand and select Active users.
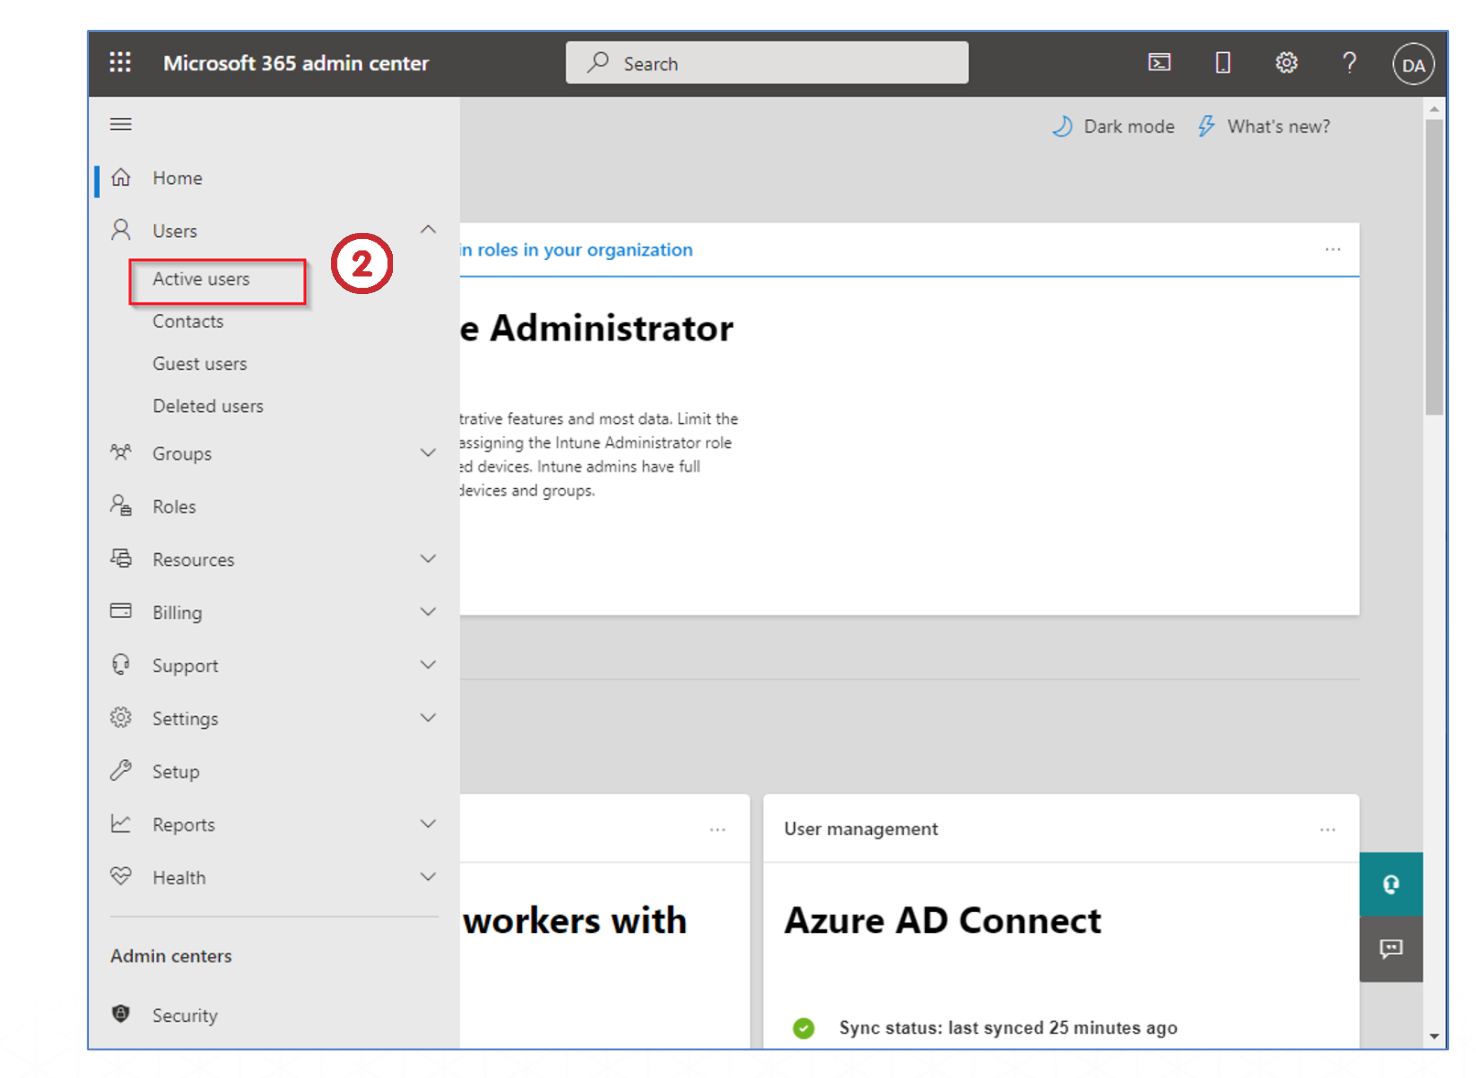
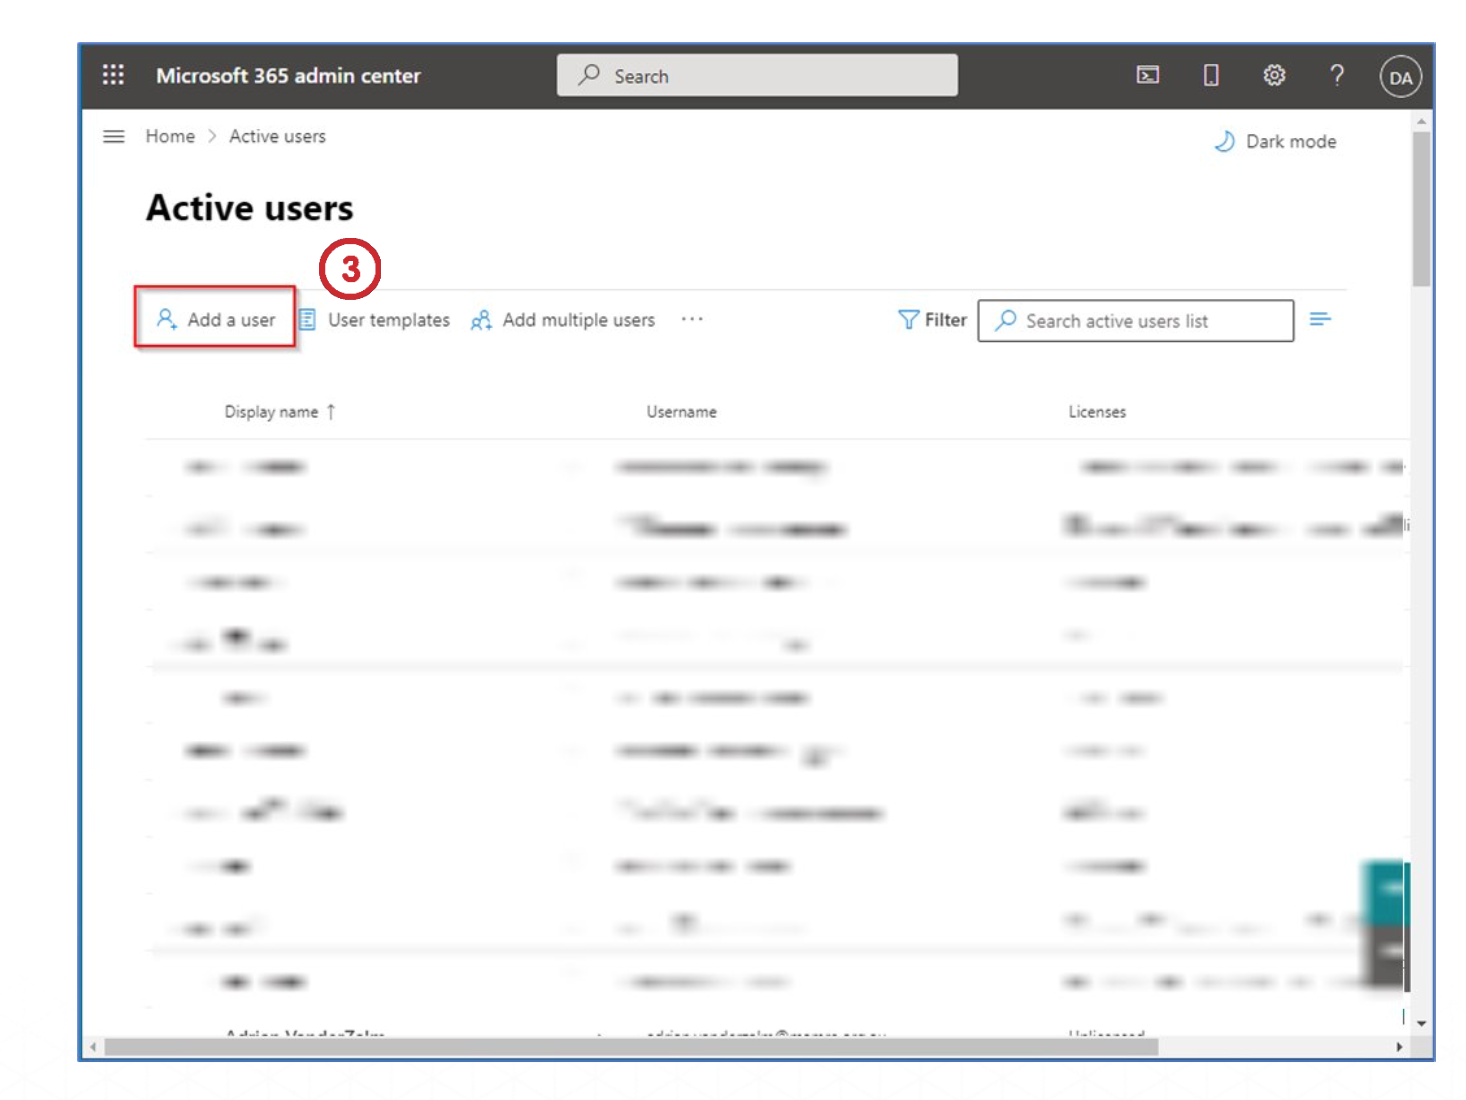
3. Click on Add a user.
You will be brought to Add a user -> Basics.
This will allow you to create a new user on the system.
- Fill in the details of the form. There are fields for First name, Last name, Display name, Username, and Domains (for your organization domain).
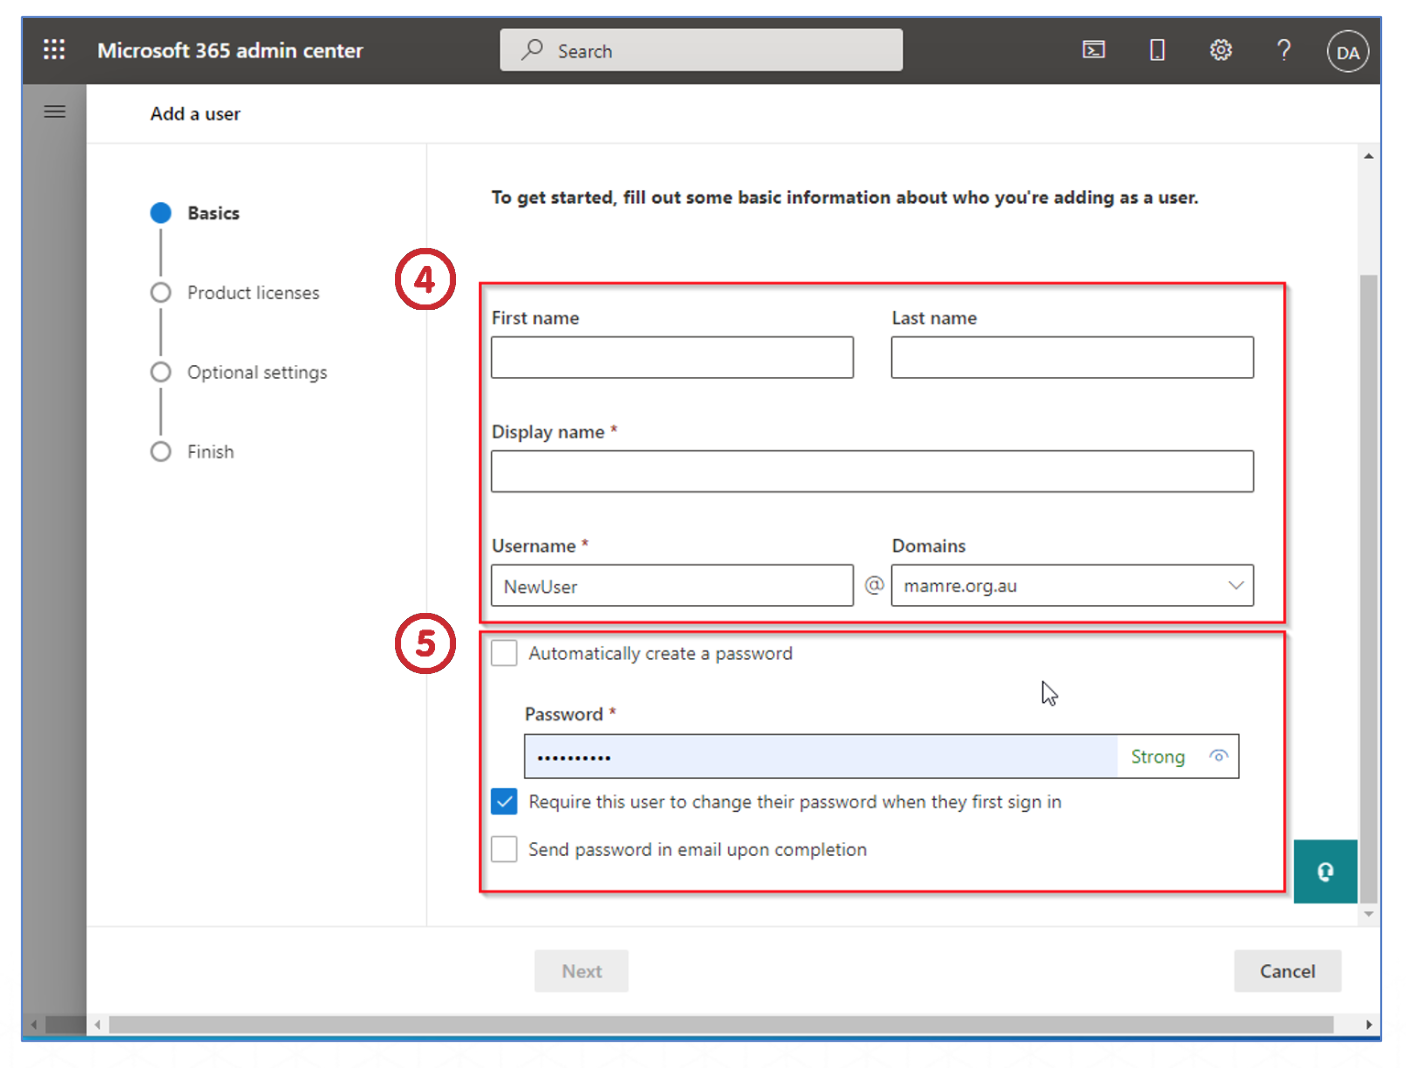
- There are three options for password:
-
If ‘Automatically create a password’ is not selected, the password must be typed in the textbox. However, if this option is selected the password will be created automatically
-
If ‘Require this user to change their password when they first sign-in’ is selected, the user must change their initial password to some other password when they sign-in for the first time.
-
If ‘Send password in email upon completion’ is selected, an email will be sent to the user about the details.
Please note that this email must be sent to the user’s personal/other email as the user will not have access to their organization’s email address until they sign in.
After completing, click the Next button to proceed.
Adding a License to the User
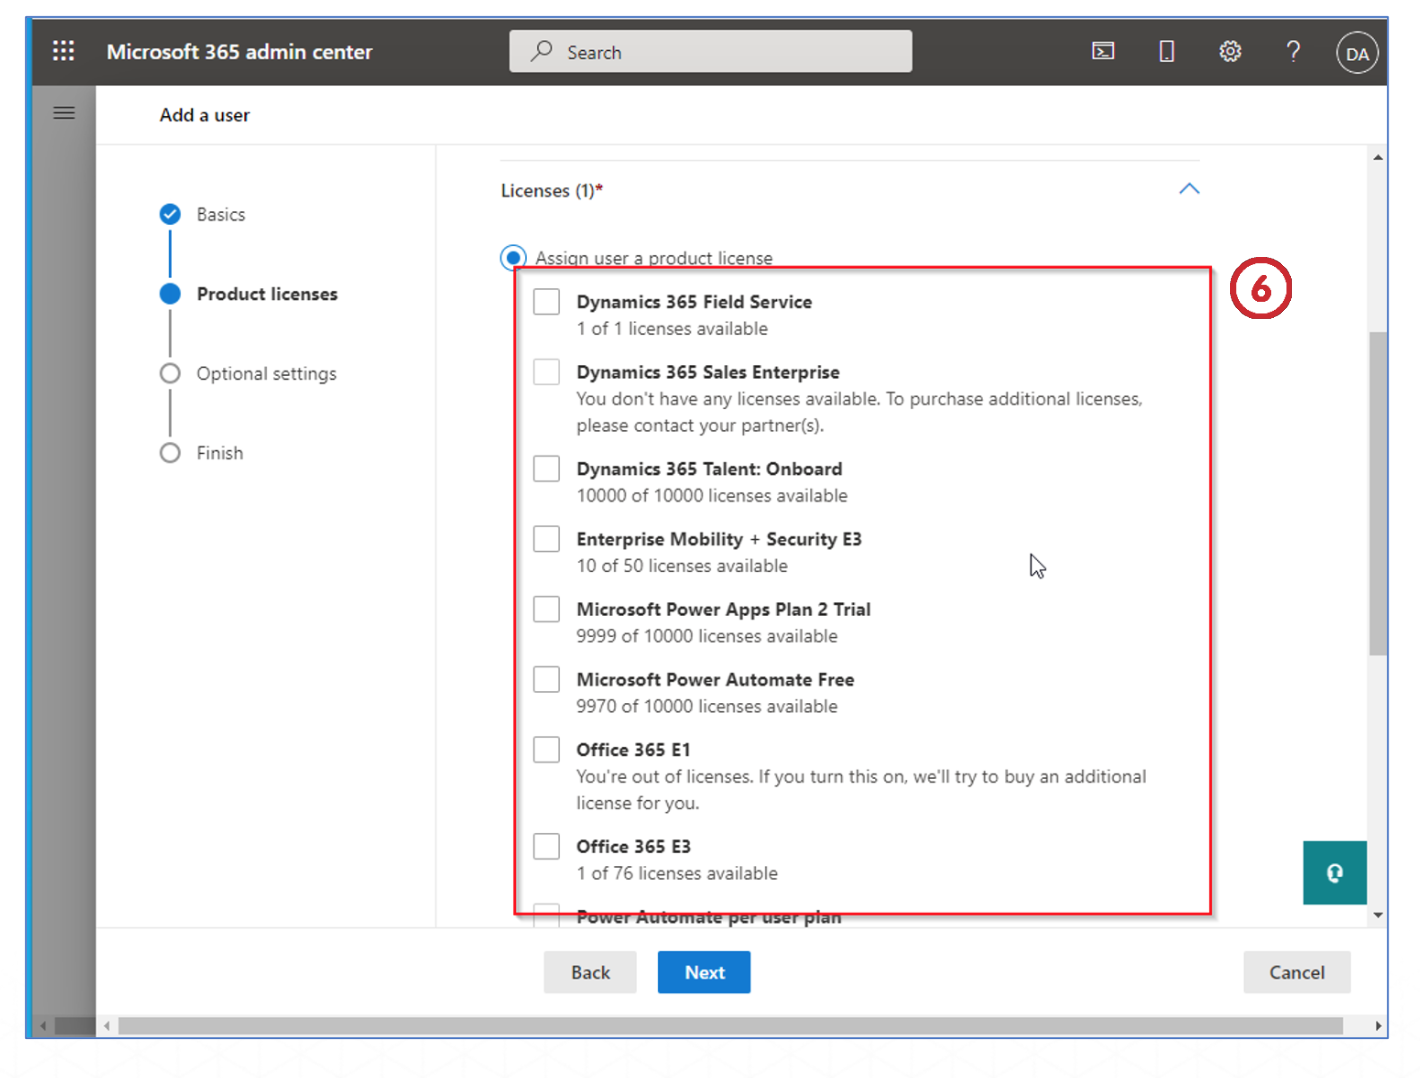
You will be brought to Product licenses.
- Assign product licenses depending upon the role of the user by selecting the checkboxes next to the option. (e.g. Dynamics 365 Field Service)
Click the Next button to proceed.
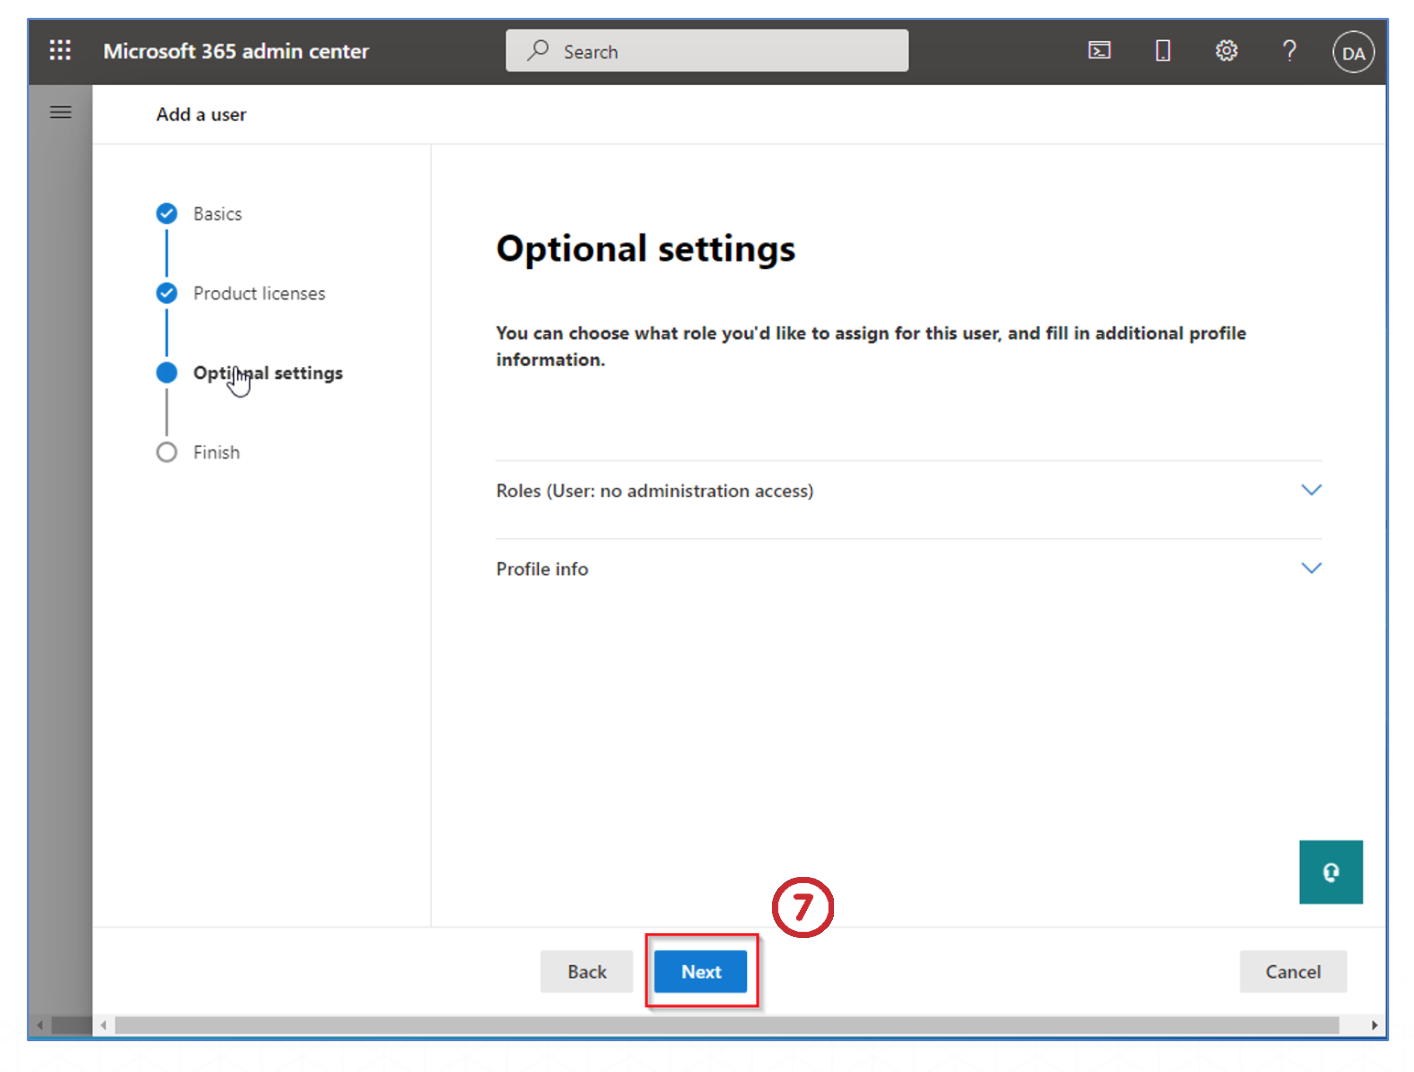
Under Optional settings, you can assign roles to users based on your organization’s preferences.
- After completing any configuration, click the Next button.
-
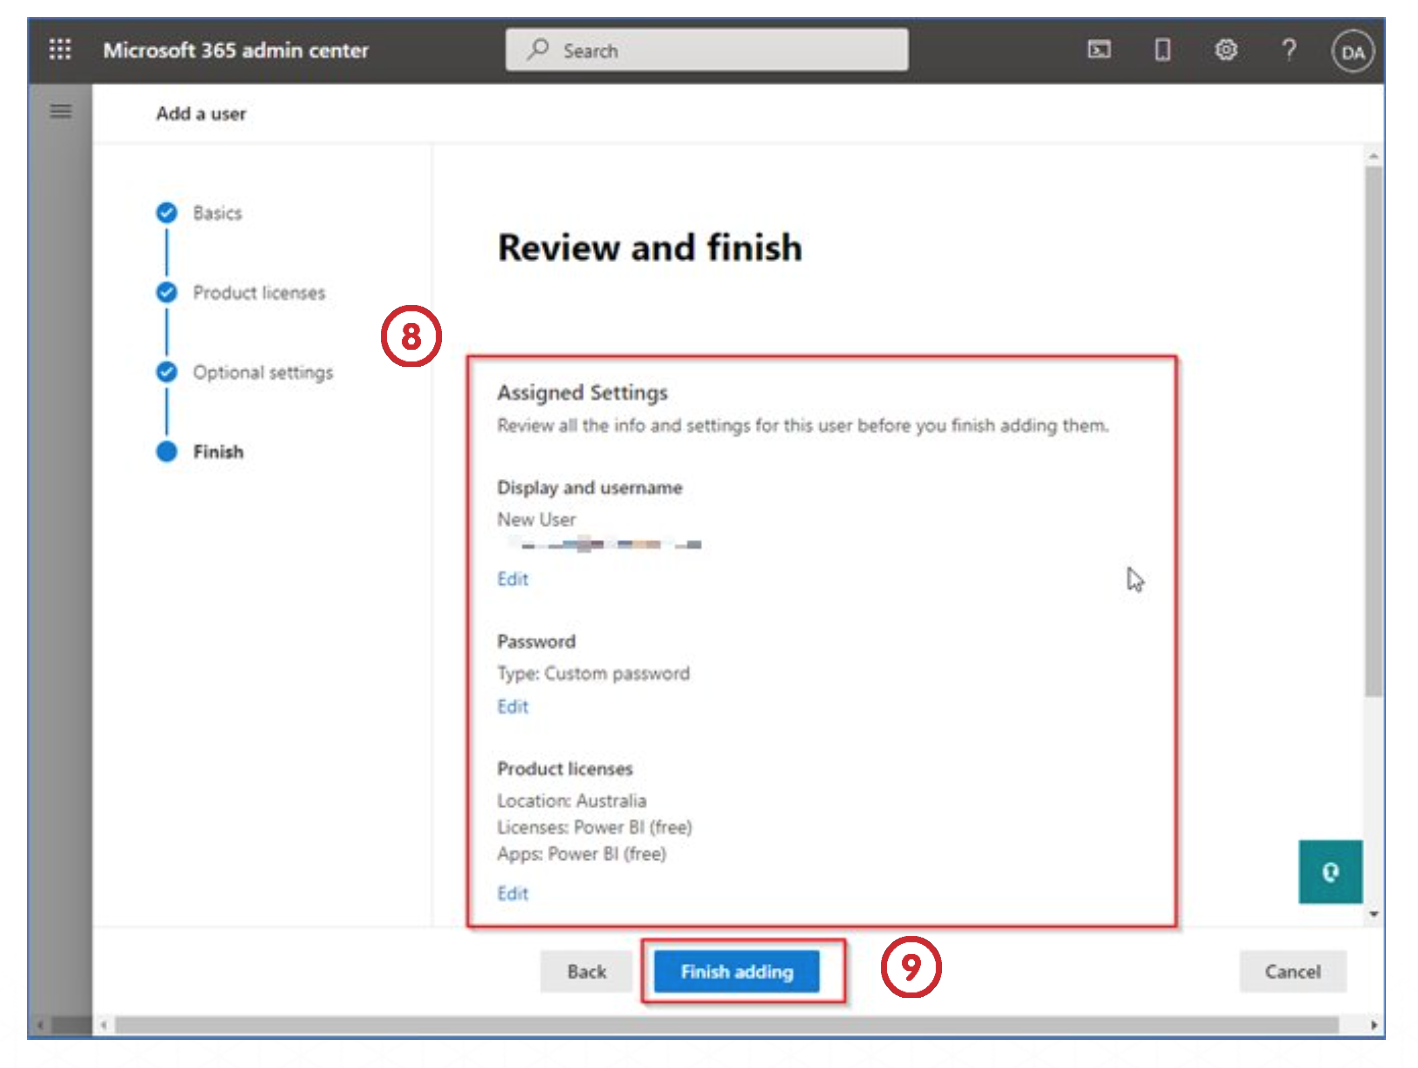
The review screen provides a review of the options selected in the previous steps.
-
To confirm user creation, click the Finish adding button.
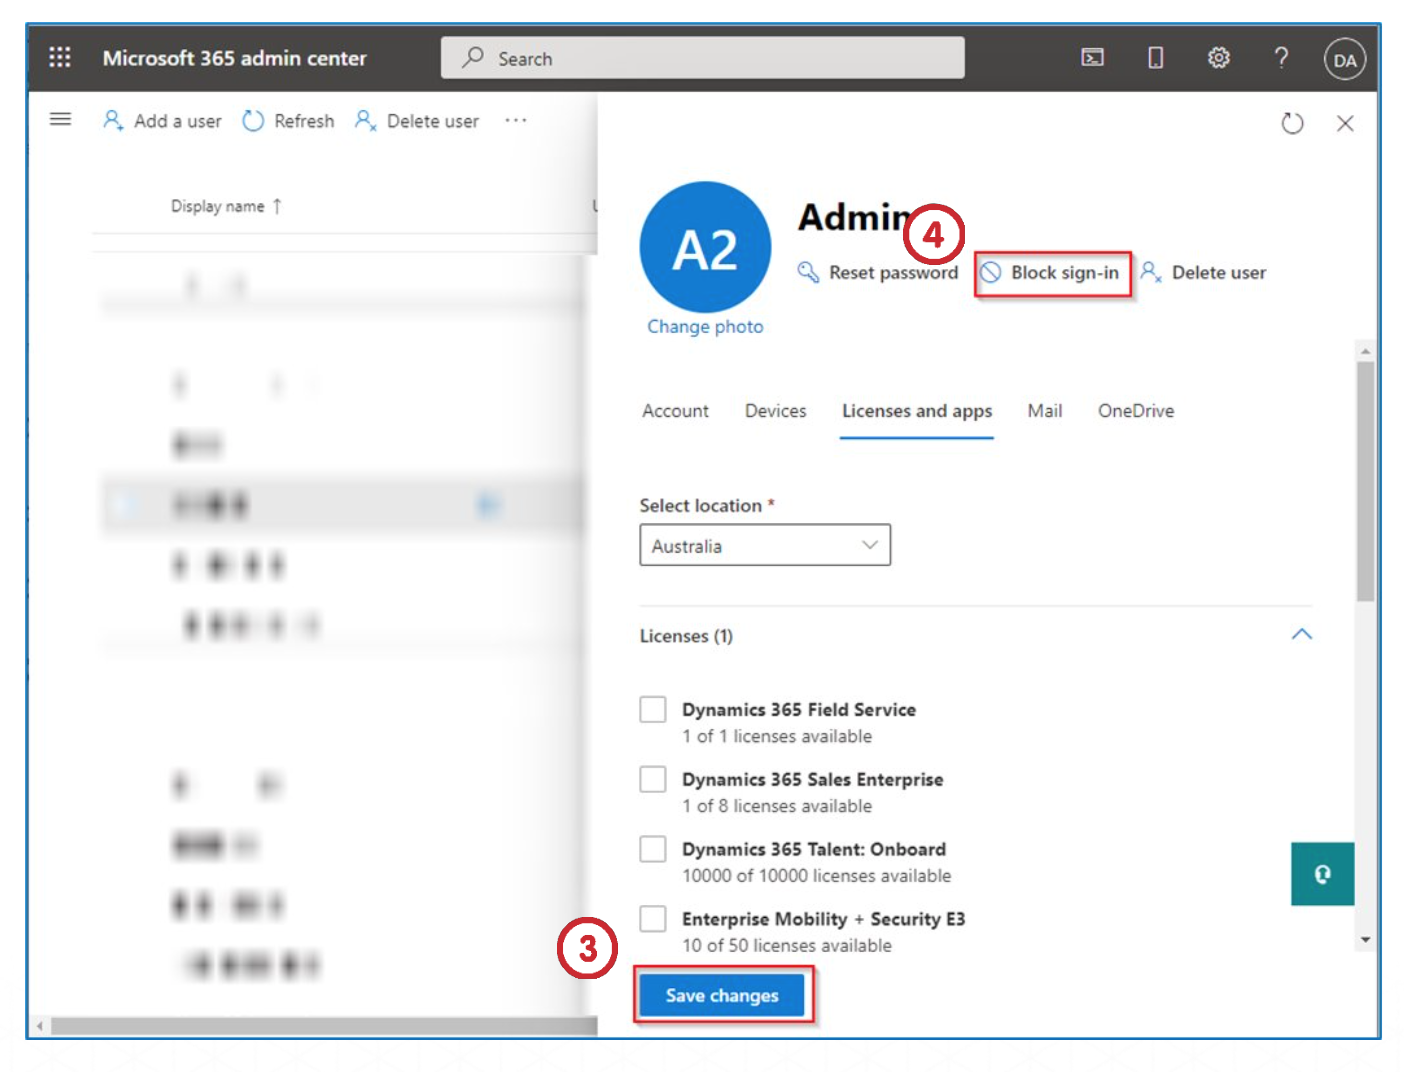
Disabling a License
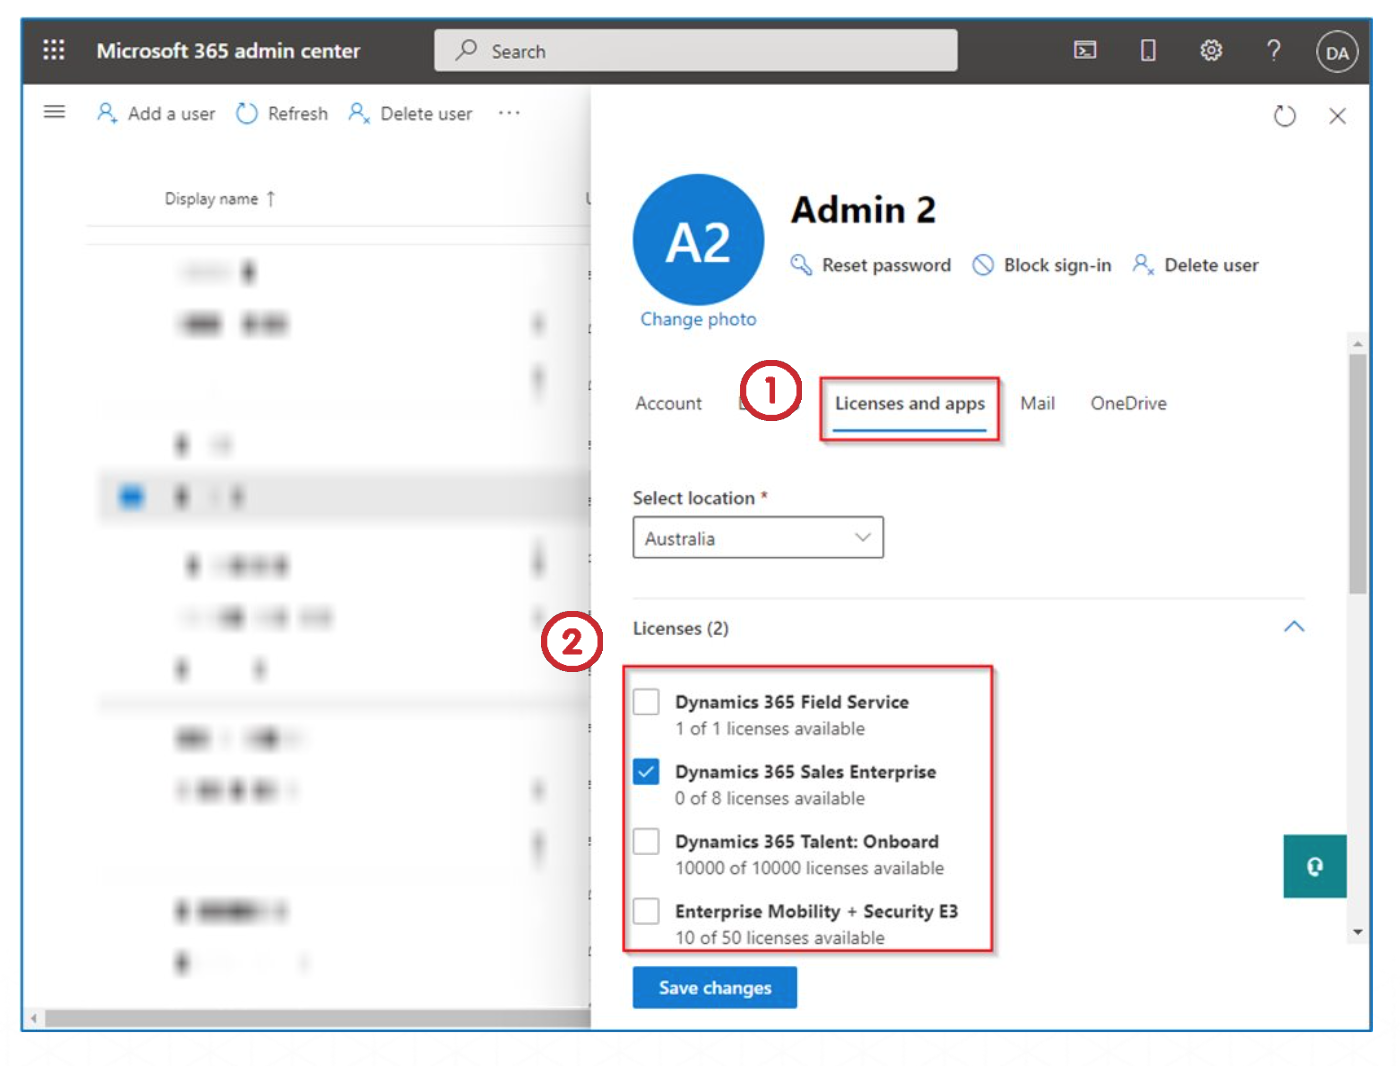
When a person leaves the company, their license must be disabled. To disable the license of a user, open the Admin Center, and select the user whose license must be disabled.
-
Open the Licenses & apps tab.
-
Unselect all the licenses that have been assigned to this user.
-
Click the Save changes button.
-
The user’s sign in can be blocked by selecting the Block sign-in option.